

How to Calculate the Right Hoist Capacity for Your Application
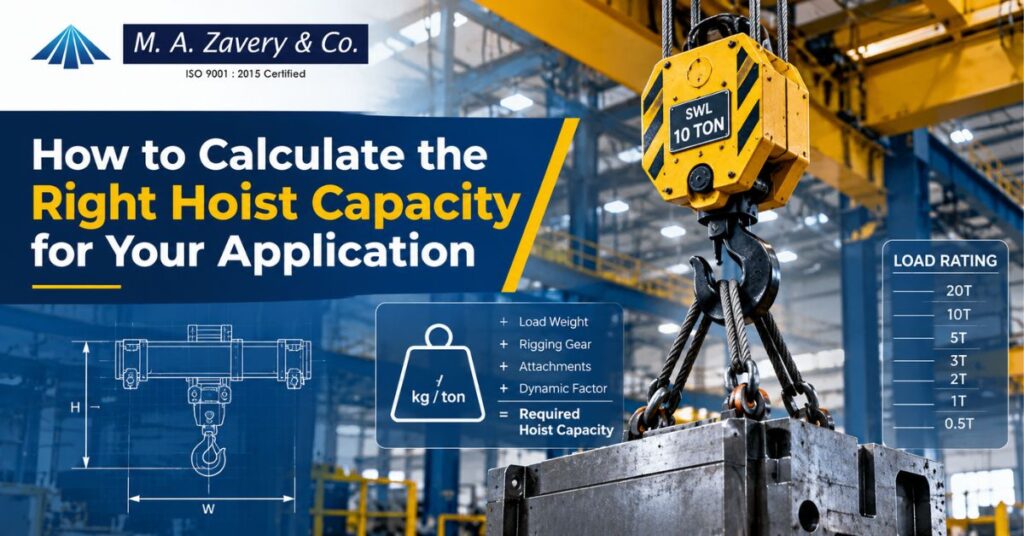
Plants end up with a hoist that’s too small, too slow, or far more costly than the job demands when they buy by the number on the box. Capacity begins with weight, but it does not end there. Let’s go over it step by step, with a copy-paste worked example. Short answer: use this formula. Determine the real weight of the load. Add the weight of all rigging components: slings, shackles, hooks, and spreader beams. Include a buffer for anticipated weights and future growth. Verify sling angles to ensure that each rigging part can carry its portion of the load. Match your lifts per hour and daily run time to duty class. Pick the next standard hoist size up from your result. Here’s why each step is important. What “Hoist Capacity” Means The rated load is the capacity of the hoist; the maximum weight that the hoist is allowed to lift in normal service. The number is stamped on the unit, and you should never lift more than that. One university safe-work sheet says never to exceed the capacity posted on the hoist. The same goes for every part in the lift. Rigging gear is rated as a working load limit (WLL). A 5:1 design factor means the part breaks at 5 times the WLL. WLL is defined in training material for millwrights as the breaking strength divided by a design factor. The strength of your lift is only as strong as the weakest part of it. The hoist, sling, shackle, hook, and anchor all need to be rated to the load or higher. Capacity is only half the story, too. One hoist supplier notes that buying a hoist is more than checking capacity and that being too high in duty class adds cost you don’t need. So, the weight. How to Calculate Hoist Capacity: Step by Step Step 1: Find the True Weight of the Load Don’t assume. Trade standards for riggers require crews to weigh the load based on size, type of material, wet or dry condition, centre of gravity, added components, and the weight of rigging hardware. Here are the references in the following order: Weightbridge or load cell reading The data sheet or nameplate of the manufacturer Drawings and material density (density multiplied by volume) As a last resort, an engineer’s estimate Look out for hidden weight. A tank can contain liquid. There may be scale, packaging, or bolted-on fittings on a steel part. A wet load of timber can be far heavier than dry stock. Step 2: Add the Rigging Weight The hoist carries more than the thing. The weight of the load and rigging hardware is included in the lifting calculation in millwright training. Add. Chain assemblies and chain slings Shackles, Master Links & Hooks Spreaders/lifting beams Lifting points and clamps Suppose you rig with Yoke G100 chain slings and a welded master link. Find the weight of each piece on its data sheet and add it to the total. The little things add up. Step 3: Add a Margin Real loads are full of surprises. Estimated weights run off, operators jerk the chain, and next year’s job is heavier than this year’s. A margin covers all 3. There’s no single number that works for every site. A familiar load on a smooth lift needs less margin than a load estimated by a fast-working crew. The percentage should be determined by your safety officer or lifting engineer. The example below is based on a planning habit, not a rule of 10 per cent. Do not use the hoist’s overload or warning device as a load measuring device. The tradition from the Hoist Manufacturers Institute in a safety sheet makes it clear that operators are not to use those devices as a scale. Step 4: Check Sling Angles Sling angles do not affect the hoist rating. The hoist still supports the full vertical weight. Angles put tension on every leg of your slings, shackle, and lifting point, so they dictate the size of your rigging. Measure the angle relative to the horizontal. The formula for each of the legs is: Tension per leg = Load ÷ (Number of legs × sin of the angle) Here are values for a two-leg sling: Angle from horizontal Tension per leg 90° 50% of the load 60° 58% of load 45° 71% of load 30° 100% of load The training sheets for riggers all follow the same pattern – the wider the spread of the sling, the greater the stress on each leg. They also warn that a sling below 30 degrees is exceedingly dangerous. Angles are steep, or use a spreader beam. The hoist itself is also subject to a similar point. The 2022 version of ASME B30.16 added a definition for angle of loading, which is a reminder that a hoist performs best with a straight vertical pull. • Position hoist directly above load. Step 5: Match the Duty Class Two hoists with the same rated load can have very different longevity. The difference is class duty. When selecting an overhead hoist, the factors to be considered are the average operating time per day, load spectrum, starts per hour, operating period, and equipment life. Here’s a simple way to read the common ASME classes: Class Typical use H1 Powerhouses and utilities, infrequent lifts of loads near capacity, long idle periods H3 General machine shops, assembly, storage, and warehousing, with randomly spread loads H4 High volume of heavy loads near rated capacity, such as steel warehouses, mills, and foundries H5 Duty cycles approaching continuous operation H3, as explained by one crane manufacturer, is general service running as high as 25 per cent of the work period, and H4 is a high volume of heavy loads. Count your real numbers: lifts per hour, minutes of run time, and the typical load as a portion of rated capacity. If the same hoist is used four times an hour, you require a higher classification than if it is used 40
Chain Hoist Vs Wire Rope Hoist: Which One Do You Need?
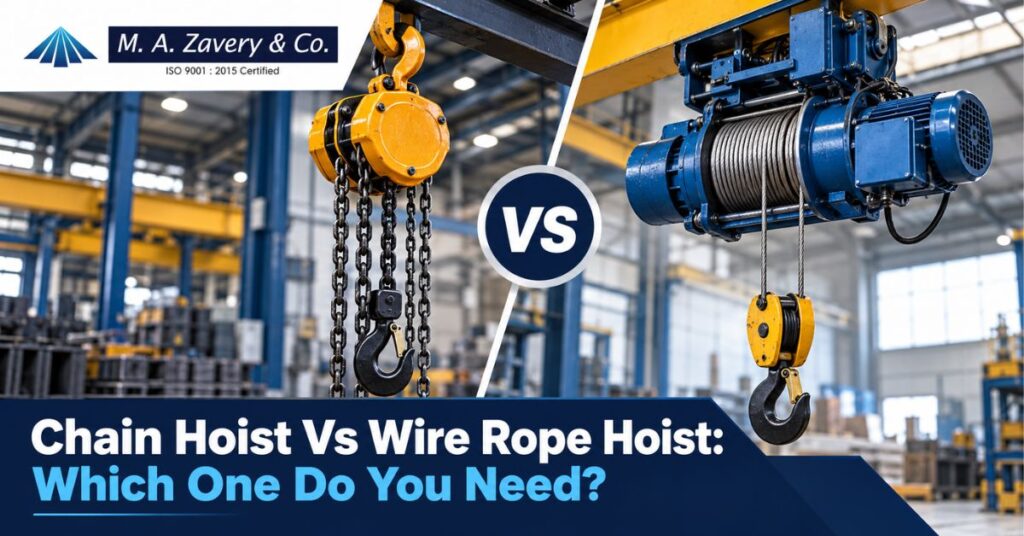
The wrong hoist will cost you slow lifts, premature wear, and a unit that will not fit under your roof beam. Pick the right one, and you forget it’s there, which is exactly what you want. Let’s parse it out. Quick answer: Wire rope hoists generally handle heavier loads at higher speeds, while chain hoists generally require less headroom. Choose a chain hoist for lighter loads, low ceilings, occasional lifts, and simple maintenance. Select a wire rope hoist for heavy loads, long lifts, faster travel, and continuous duty. And this is why. What Is a Chain Hoist? A chain hoist lifts with a load chain running through a pocket wheel rather than winding on a drum. The chain falls into a chain container and passes through sprockets. You will come across four common variations: Hand chain hoists (chain blocks): You pull a hand chain to raise. For this group, M.A.Zavery has the Elephant C21 Series manual hoist and the Elephant H-100 Series chain block. Lever hoists: A short-handle ratchet moves the load up or down. One of the models listed is the Elephant YA Series Lever Hoist. Electric chain hoists: The motor does the work. The site shows a Beta Series electric chain hoist, single-phase Stahl ST, and STD dual-chain hoists. Air chain hoists: Use compressed air for the lift where electric motors are not suitable. Where Chain Hoists Work Best Chain hoists are perfect for workshops, maintenance bays, small fabrication lines, and warehouses. They are popular because they take little maintenance and can be less expensive than a wire rope system. Chain can also beat wire rope. The compromise is speed. Restricted lifting speed. The slower lifting has its silver lining. “When you put a delicate part, a die, or a machined casting, you get fine control.” What Is a Wire Rope Hoist? A wire rope hoist winds a steel rope around a grooved drum. As the rope winds, it follows a spiral groove which holds it in an even layer. The neat coil gives a smoother ride and less load swing. Capacity is high. One Indian manufacturer offers electric wire rope hoists ranging from 1 to 50 tonnes, intended for continuous-duty crane work. Stahl SH and SH Ex wire rope hoists. Bridon wire rope grades, including Dyform and Tiger Blue, are available for rope replacement and rigging on the M.A. Zavery site. Where Wire Rope Hoists Work Best Wire rope hoists are a must at production plants, steel yards, power stations, and any site that lifts all day long. They lift faster and higher than chain units and may be rated for severe duty classes. There are two downsides. The drum is bulkier than a chain mechanism, and in some conditions rope can wear earlier than a chain. Chain Hoist vs Wire Rope Hoist: Side-by-Side Comparison This table shows the main differences at a glance. Use it as a first filter and then look up the real ratings of any model you are shortlisting. Factor Chain Hoist Wire Rope Hoist Load range Light to medium Medium to very heavy Lifting speed Slower, easier to control Faster, smoother Headroom needed Usually less Usually more (drums take space) Lift height Moderate Higher Duty cycle Intermittent work Continuous or heavy work Upkeep Simpler, lower cost Regular rope inspection Purchase price Often lower Often higher “Above about 10 tonnes, or with heavy-duty cycles, wire rope is ahead,” says one manufacturer. Compact and lighter, electric chain hoists are ideal for intermittent work. 10 tonnes is a rule of thumb, not a hard line. Manufacturers have their own ratings for their models. How to Choose the Right Hoist: 6 Steps “Write down your heaviest load, not your average load. No. of lifts/hr & run time per shift. With the hook in the fully raised position, measure between the hook and the beam or trolley. Decide how fast you want to lift and how fine the control is. Note the environment: dust, dampness, heat, corrosive fumes, or explosive atmospheres. Who will inspect the hoist and how often Now, let’s recap the steps that most people have trouble with. Match the Load and Duty Cycle Begin with the heaviest load, then add room for growth. “We have plants that we buy for today’s job and grow out of the hoist in two years. Weight is as important as duty cycle. The duty classes for hoists are based on factors including the lifting application, maximum run time, and maximum number of starts. A 3-tonne hoist that runs 40 lifts an hour wears very differently than a 3-tonne hoist that runs four. If your hoist runs all the time, wire rope is the way to go. A chain unit is usually sufficient if it needs lifting a few times a day. Check Headroom and Lift Height Headroom is the distance from the top of the hook to the underside of your support beam. Many low-ceilinged workshops can’t accommodate a standard wire rope hoist. Chain hoists generally require less headroom, so they work with lower ceilings. You will find designs with low-headroom wire rope, but you should compare the dimension drawings before you buy. Long lifts are the opposite way around. Good for high lift heights as rope winds onto a drum. Weight Speed and Control Fast lifting means time savings. Hundreds of loads per week. A slow, steady lift protects delicate cargo. Electric models give you choices. On the M.A.Zavery site, they have a single-phase variable speed Alpha Series with a plain trolley. This allows operators to creep up to a load and then speed up once it clears. Consider the Environment With dust, moisture and chemical vapour, the answer is different. For potentially explosive atmospheres, the Yalelift 360 ATEX hand chain hoist is listed on the site. But air-powered options are another path where electric sparks are a concern. Tiger has pneumatic air hoists, such as the TAH52 for 5-20 tonnes and the TAH250 for 25-60 tonnes. Plan Upkeep and Inspection Chain hoists are the easiest
Single Phase vs Three Phase Electric Hoist: Key Differences Explained

If you are shopping for an electric hoist, one of the first questions you will run into is whether you need a single-phase unit or a three-phase one. That may seem like a minor detail, but it makes a difference in how the hoist will operate, what kind of power hookups you’ll need at your facility, and even how much the installation will cost you. Let’s analyse it so that you can choose the right one without guessing. What Does “Phase” Actually Mean in an Electric Hoist? All electric hoists use an AC motor, and this motor requires a constant flow of electricity to lift and lower loads evenly. The term “phase” refers to how electricity is delivered. A single-phase supply has one live wire and one neutral wire carrying current. The power goes up and down in a wave. Peaks. Goes back to zero. Goes back up again. A three-phase supply has three separate live wires. Each one carries a current which is offset from the others by a third of a cycle. The three waves overlap, so one is always near its peak, giving the motor a much more even flow of power. From lifting capacity to running cost, this one difference is the reason for nearly every difference between single-phase vs. three-phase electric hoist models. Single-Phase Electric Hoists: What They’re Good At A single-phase electric hoist hooks up to a standard two-wire power supply, the kind you find in a home or small workshop. This is the easier option to install if you don’t already have 3-phase wiring in place. Here’s why people use single-phase hoists: Most of the time they plug into regular electrical outlets, so there is no need for special wiring. Three-phase setups can sometimes require extra wiring and transformer work, and you avoid that, so the installation costs less. They are good for lighter, occasional lifting jobs. They are portable from job to job and small. Where single-phase hoists make sense Single-phase hoists are suitable for small workshops, garages, farms and light fabrication units where loads being lifted are generally under a couple of tonnes and the hoist is not running for hours on end. M.A.Zavery offers Elephant single-phase electric chain hoists such as the Alpha Series and the Beta Series designed for this type of lighter-duty lifting. The tradeoff is that single-phase motors require extra components, such as a capacitor, to get the initial torque moving. This means single-phase hoists tend to have a lower capacity than three-phase hoists and are not a first choice for continuous heavy-duty operation. Three-Phase Electric Hoists: Built for Bigger Loads Instead of one, a three-phase electric hoist has three live wires to power it. Because the current never actually reaches zero at any point in the cycle, the motor receives a steadier, more balanced flow of energy. That translates into real benefits on the shop floor: Motors start and run with less vibration and less heat build-up. The hoist is capable of lifting more weight without drawing excessively on any one wire. Over time, internal parts wear less as the motor is not fighting through power dips. The same wiring can carry more total power without requiring larger cables. Where three-phase hoists make sense Three-phase equipment is more appropriate for factories, steel fabrication yards, warehouses and construction sites that run hoists for long shifts or lift loads over a few tonnes. M.A.Zavery has a three-phase range of elephant chain hoists in the Alpha, Beta and SA Series and wire rope hoists from brands such as Safelift and STAHL that are built for this type of demanding repetitive lift. The downside is that three-phase power isn’t available everywhere. Many homes and small commercial units are single-phase, so you may need to have your electricity supplier run a three-phase line to your location before you can use this type of hoist. Single-Phase vs Three-Phase Electric Hoist: Side-by-Side Comparison Factor Single-Phase Hoist Three-Phase Hoist Power wires 1 live, 1 neutral 3 live wires, offset by 120 degrees Typical lifting capacity Lighter loads Heavier loads Power consistency Fluctuates in a wave pattern Steady, near continuous Installation Simpler, often no special wiring May require new wiring or transformer Best suited for Workshops, garages, light industry Factories, warehouses, construction sites Running cost per lift Slightly higher for heavy use Lower for sustained, heavy use Availability of power supply Widely available Limited in some residential or rural areas Power Supply, Voltage, and Wiring Differences In most parts of India, single-phase supply runs at around 230 volts and three-phase supply runs at around 415 volts between phases. Three-phase motors can move heavier loads without pulling as much current through any one wire. Part of the reason for this is the higher voltage. Single-phase hoists are also easier to wire, as they only require a live and neutral connection similar to a household appliance. Three-phase hoists need three live conductors and, in most configurations, a neutral and an earth wire. This type of hoist will require a three-phase connection, so if you do not already have one in your facility, you will need to contact your local electricity board to arrange one. This adds one more thing to plan for early on, as it can impact your project schedule. Which One Should You Choose? The honest answer really boils down to three things: how much weight you are lifting, how often you are lifting it, and what power supply you already have. Questions to ask before you decide What is the heaviest load you will actually lift regularly? Is the hoist running for a few minutes here and there or hours at a time during a shift? Do you already have a three-phase connection at your site? Is the hoist going to stay in one place, or will you need to move it around? What is your budget for installation, not just the hoist? If you have answers that lead to lighter, occasional lifting, with a standard power connection, a single-phase hoist will do