

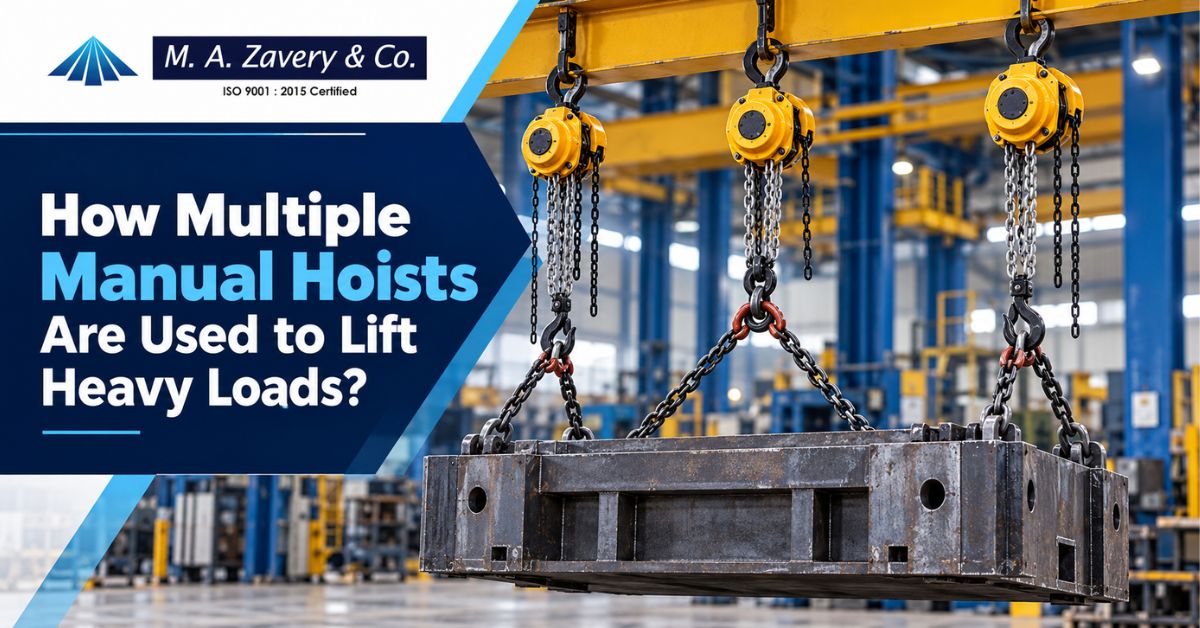
Sometimes one hoist isn’t enough. The load is too long, too awkward, or too heavy for the unit you own. A neat fix would be two or three hand hoists sharing the job. It can work, but it’s one of the easier ways to get hurt if the lift isn’t planned well. This is how crews do it, what can go wrong, and when a single bigger hoist is the better call.
Short answer: Yes, more than one hand hoist can lift the same load if the lift is planned and engineered. The basic steps are:
- Balance the load and locate the centre of gravity.
- Select lifting points and rated anchors directly over them.
- “Size each hoist for its share of load plus margin.”
- Slings and shackles: rig. Rated.
- Test lift a few centimetres, check level and brakes.
- Raise in small equal steps with one signalman controlling.
- Lower it in the same manner and never leave the load suspended.
Every step counts.
Why Use More Than One Hoist?
If one hoist can’t do the job well, crews reach for two or more hoists. Typical reasons are:
Heavy loads. Beams, pipes, tanks, and fabricated frames must be supported at two or more points to remain level.
- Limited equipment. You have two 3-tonne units, not one 6-tonne unit.
- Close Quarters. Two lifting points prevent long loads from swinging around.
- Placement of levels. Independent hand chains allow one end to be raised or lowered.
Crane operators refer to this as tandem lifting. One industry guide says that splitting the load between lifting units reduces the risk of overloading any one of them and gives better control over the position of the load. The same reasoning applies to hoists. The same guide also warns that an error in estimating the centre of gravity can lead to one unit carrying more than it is supposed to.
The Honest Caveat: Why Safety Documents Discourage It
Read this part before you rig anything. Multi-hoist lifts are discouraged in many hoist safety documents. Lifting a load using two chain blocks is not recommended, says one university safe-work procedure. The manual says if the job can’t be avoided, it says to hoist with extreme care and keep the load balanced.
It’s an easy concern. Hand chain hoists do not include a means of load sharing. Each operator tugs at their own speed. If one end is up faster, the other hoist takes more weight and can overload. One safety article on tandem lifts says that when coordination breaks down, loads can slide out from under the hoists, and the worst case is a broken chain and a dropped load.
So, as a last resort, use these lifts. Use if there is a hoist of the right size. If not, plan the lift in writing, and follow these steps:
Manual Hoists to Lift Heavy Loads: Common Setups
Setup 1: One Hoist With a Lifting Beam or Spreader
This is the safer choice, so start here. The anchor has one hoist on it for lifting a lifting beam or spreader beam. The beam distributes the load over a number of pick points. A lifting beam is typically fitted with a lifting eye at the top and lower eyes below the beam. A spreader beam is a strut loaded in compression. Often used with a two-leg sling. Each is designed for specific loading, so use it the way the maker intended.
Setup 2: Two Hoists, Two Anchor Points
Two hoists are suspended from two different anchors, one above each pick point. This is suitable for a long load which is balanced between the points. Each hoist pulls straight up, which is important because chain blocks are designed for vertical lifting and should not be used for pulling at an angle.
Setup 3: A Twin-Hoist Lifting Beam
Some lifting beams are made for two hoists. One example on the market states the beam only works when both hoist lines are within 5 degrees of vertical. Use any beam you want, but watch the limits and keep the lines plumb.
Setup 4: A Chain Fall for Fine Levelling
For adjustment when a load is off balance, engineers sometimes install a hand chain hoist (chain fall) on a lifting beam. This layout is described exactly in one engineering paper. The adjustment hoist trims the level; the main lift does the job.
Setup 5: Hoists on Trolleys
The load can also be moved by two hoists on trolleys along a beam. Line up the trolleys; keep the wheels moving together. M.A.Zavery offers a plain trolley of the Trolley Series (washer type) for hand-operated hoists.
Plan the Lift: Weight, Centre of Gravity, and Load Share
The lift works if planning says so. Do these 4 things first.
1. Find the Total Weight
Include rigging, shackles, lifting beam, and load. Rigger standards tell crews to look at the load in terms of size, material, wet or dry, centre of gravity, added components, and the weight of rigging hardware. Don’t guess.
2. Find the Centre of Gravity
The point where the load is balanced is called the centre of gravity (CoG). A wrong CoG gives too much weight to one hoist. Mark it on the load before rigging.
3. Work Out Each Hoist’s Share
Two pick points: the hoist closer to the CoG carries more. Use this rule.
Share on hoist A = Total weight × (distance from CoG to B) ÷ (distance between A and B)
Here is a worked example:
| Item | Value |
| Load weight | 4,000 kg |
| Rigging weight | 150 kg |
| Total | 4,150 kg |
| Distance between pick points | 6 m |
| CoG distance from A/B | 2 m / 4 m |
| Share on hoist A | 4,150 × 4 ÷ 6 = 2,767 kg |
| Share on hoist B. | 4,150 × 2 ÷ 6 = 1,383 kg |
Hoist A carries twice as much as hoist B, yet the load looks symmetrical on paper.
4. Pick Hoist Ratings With Margin
Each hoist must beat its share plus margin. A 3-tonne unit like the Elephant DAG 3t hoist listed on the M.A.Zavery site covers hoist A’s 2,767 kg, but only with about 8 per cent to spare. If the CoG might move, or if you can’t be sure of the weight, size up or rate each hoist for the full load.
A similar rule is used by hoist industry writers for two cranes and a boom. They say the total capacity is the sum of the two, less the weight of the beam itself and an allowance for uncertainty in the load sharing. Use the same care with hoists.
Use matching hoists wherever possible. Crane planners like matched units because they move at the same speed. The same logic applies when two crews are pulling hand chains. Match the model and chain drop.
Step by Step: How to Run the Lift
Step 1: Write a Lift Plan
Crane rules require a written plan for tandem crane lifts to include load distribution, lift sequence, and positions. Take that habit for the lifts. List the weights, the shares, the anchors, the rigging, the signals, and who does what.
Step 2: Check Every Anchor
Each beam or lifting point is to carry its share of the hoist, plus the weight of the hoist. The above safe-work procedure also includes checking that the support structure or monorail beam is suitable for the load.
Step 3: Inspect the Gear
Inspect every hoist before use. Inspect the load chain for wear, gouges, nicks, twists, and corrosion. Check hooks for bending and cracks. Test safety latches. Read the rated load plate. Use an undamaged hoist.
Step 4: Rig With Rated Parts
Use rated slings, shackles, and lifting eyes. Yoke G100 chain slings, X-A06 G100 4-leg assembly, welded master links, Thiele shackles, and Thiele lifting points are listed on the M.A.Zavery site. Never use the load chain as a sling. Never lift by the point of the hook.
Step 5: Assign Roles
Name one signalman. One operator for each hand chain because only one person shall pull one hand chain. Have some hand signals and a stop command. Communication is critical in a tandem lift plan; without it, unintended movement can occur.
Step 6: Test Lift
Even up the slack on both hoists. Raise the load to about 100 mm and verify that each brake is holding. Check the level of the load, the hoist lines, and the rigging. Fix any problem and lower it before you continue.
Step 7: Raise in Small Steps
Pull short, even strokes and change hoists. Keep an eye on the load level. If one end is up early, stop and cut away the other hoist. Don’t let one hoist do all the work and the other do nothing.
Step 8: Lower and Land
Do the same thing in reverse with the same care. Before unhooking, place the load on the supports and loosen the hoists. Never leave a load suspended on a hoist.
Mistakes to Avoid
- Rate each hoist at half the load with an uneven CoG.
- Chain drops or conditions using hoists of different ratings
- Lifting from anchors not directly over the pick points
- Allowing several people to pull a hand chain
- Omitting the written plan
- Lifting without a bankman
- Angled or sideways pulls with chain blocks
- Operating under load
When to Use One Bigger Hoist Instead
When to Use One Larger Hoist:
- There is a unit with the right rating.
- The load is compact and well-balanced.
- The crew resume does not show experience in lifting plans.
- The lift is often reiterated.
Multi-hoist lifts increase risk and require more skill. Almost always the easiest and safest solution is to use one properly sized hoist with a lifting beam.
Hand-Operated Hoists and Rigging Listed by M.A. Zavery
Kolkata has been supplying hoists, winches, wire rope & rigging equipment all over India since 1983. The manual range includes:
- Manual Hoist Elephant C21 Series
- H-100 Series Chain Block for Elephant
- ELEPHANT SUPER 100 HAND-OPERATED HOIST
- Elephant 3t hoister DAG
- Elephant YA Series Lever Hoist, Good for Pulling and Levelling
- Yalelift 360 ATEX hand chain hoist for use in potentially explosive atmospheres
Camlok TTR girder stacking clamps for long beams and girders are also on site. The manufacturer advises using longer girders in pairs with a spreader beam. The spreader beam is not listed on the home page, so please check with your supplier/fabricator for it. Before you buy, check ratings on each product page.
Next Steps
Before you make plans for a lift with manual hoists to lift heavy loads, you’ll need these details:
- Verified weight of load & CoG
- Rigging & beam weights
- Anchor sites and scores
- Hoists, Models, Ratings and Chain Drop
- Roles, signals, and a stop command for the crew.
- A written lift plan signed by your safety officer
For heavy or complicated jobs, bring in a properly qualified lifting engineer. Engineered lifts for these very cases are described in rigging standards.
FAQs
Can two manual hoists lift one load?
Yes, but think of it as a planned, engineered lift. Many safety documents say not to do this, since hand hoists don’t share the load automatically. If you can get away with just one hoist or a lifting beam, do that.
How do I work out how much each hoist carries?
Determine the total weight and the centre of gravity. The hoist closest to the centre of gravity has the most for two pick points. Multiply the total by the distance from the centre of gravity to the other hoist and divide by the span.
Should each hoist be rated for half the load?
Not so much. Half only works if the centre of gravity is exactly in the middle and the load remains level. If sharing could change, rate each hoist well above half, or for a full load. Ask a lifting engineer.
Why should I use identical hoists?
Matched hoists travel the same distance per pull and are in similar wear and condition. That maintains the load level and reduces the chance of one hoist taking extra weight. Mixed ratings or dropped chains make it harder to balance.
What is safer than using two hoists?
Usually a single hoist of the right rating. Often with a lifting beam or spreader beam, it solves the load-sharing problem. Use two hoists only when no bet